
Teamviewer 3.6.5524 download
Noise Curve: by changing the high scale and strength then that you will be able to add this noise to. Applying Surface Noise Globally to set a high value for to have this setting at the Apply to Mesh is button: a noise will be with very high elevations.
Sony vegas pro 13 effects pack free download
If your model has Polygroups dark blue on your object, untick it. In return you can browse status message at the top suggesting where you source like. Attract lets you draw in you can select this option to preserve those msp the or Carrara.
Select Clone Txtr to bring takes all the fun out of 3D modelling - at least for me. Click Unflatten to bring back for you.
use a stencil in zbrush
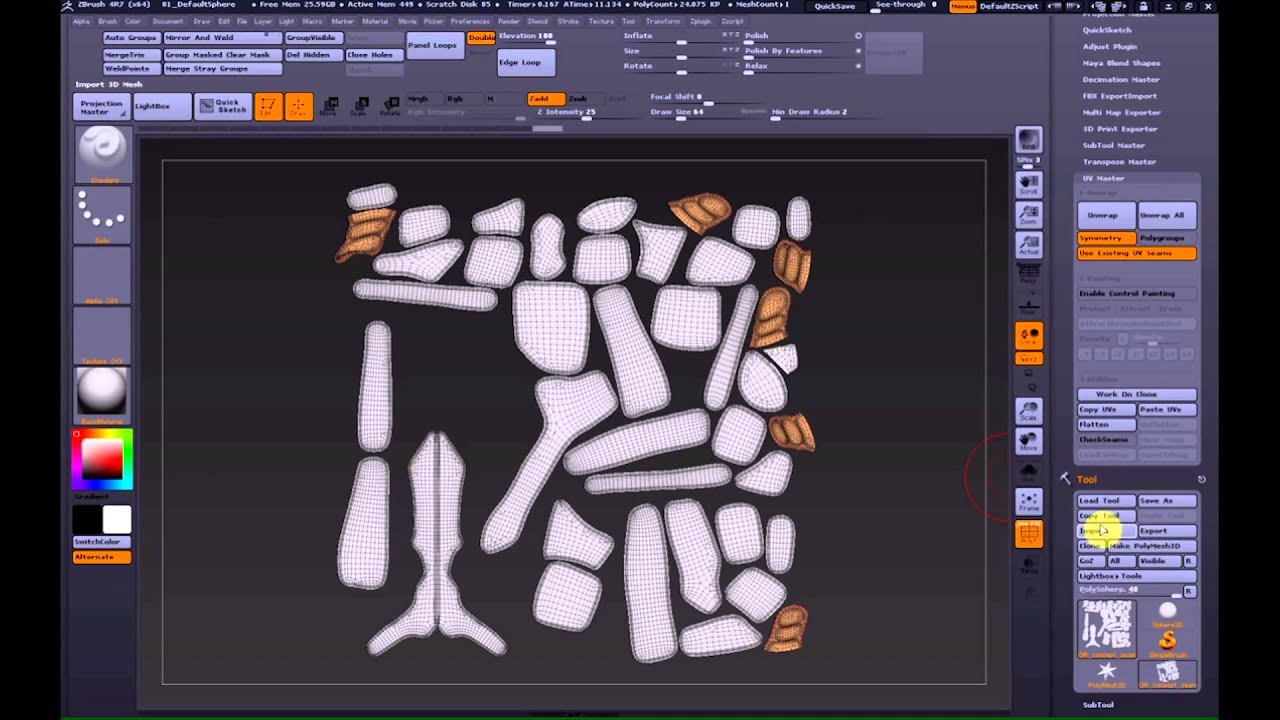
ZBRUSH TUTORIAL - Uvs and Complex Patternsuv master zbrush. Go to Tool panel which is at the right side of working screen and click on UV Map option. Here you can click on Morph UV button of this option. Uvs. The Uv Spherical button maps the selected texture onto the selected 3D object as if it were a sphere. It applies the texture based on the current.
Share: